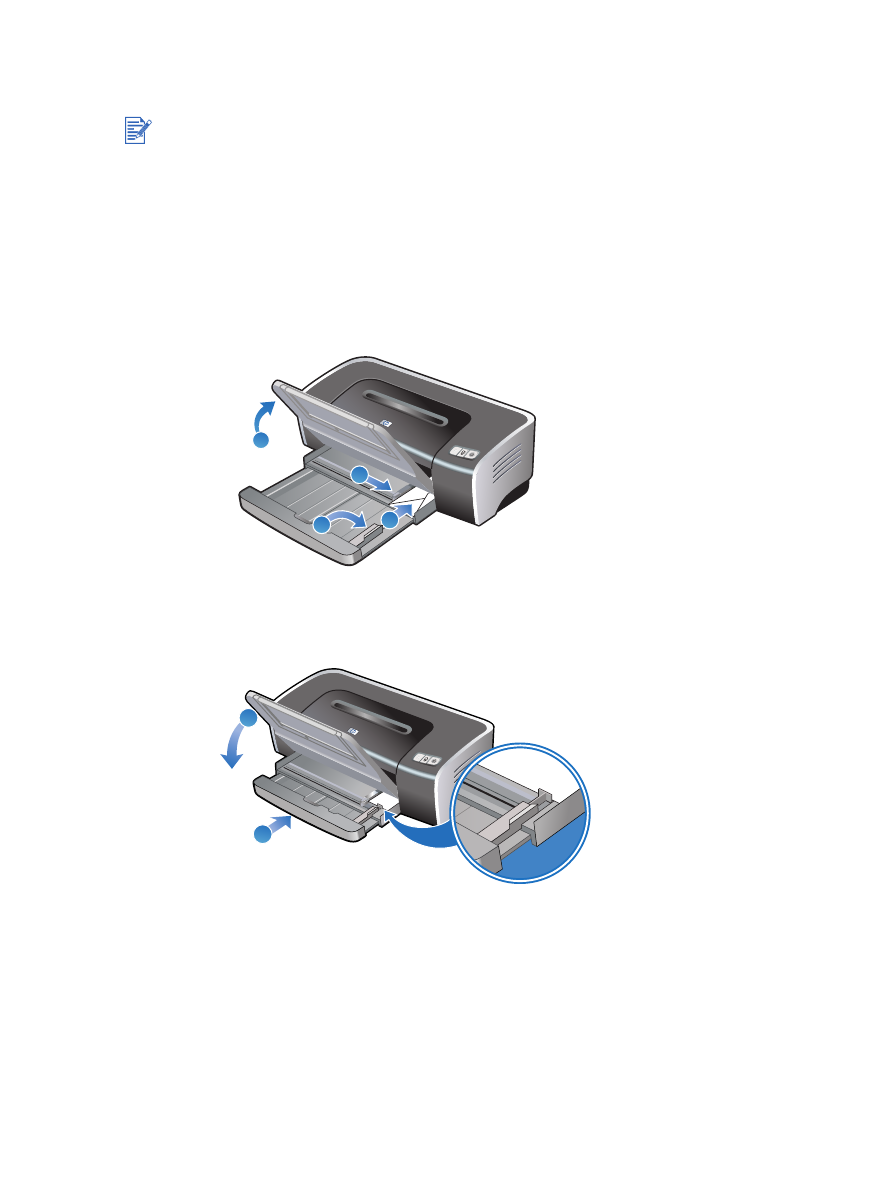
Printing on custom-sized paper
For Windows
1
Load the print media (see
“Loading media in the input tray”
).
2
Open the printer driver (see
“Printing a document”
).
3
Click the
Paper/Quality
tab.
4
Click the
Custom
button beneath the
Size is
drop-down list.
5
In the custom paper size dialog box, type values for the width and length.
6
Choose any of the predefined names from the
Name
drop-down list and click
Save
to
save the custom settings.
7
Click
OK
.
8
Select the name of the custom paper size just created from the
Size is
drop-down list.
9
Select the paper source from the
Source is
drop-down list.
10
Change any other desired print settings and click
OK
.
11
Print your document.
For Macintosh
1
Load the print media (see
“Loading media in the input tray”
).
2
Click
File
, and then click
Page Setup
.
3
Mac OS 9.1.x and 9.2.x: Select the custom size option from the media size
drop-down list.
Mac OS X (10.1 and later): Select the custom size option from the
Settings
drop-down list.
4
Click
New
, and then type values for the width and height.
5
Select the custom paper size just created.
6
Change any other desired print settings and click
OK
or
.
The paper width must be between 89.9 mm and 330.2 mm (3.54 inches and 13 inches); the
paper length must be between 146.05 mm and 1,270 mm (5.75 inches and 50 inches).

4-18
ENWW